Short answer: yes, you can lay timber flooring over existing tiles in most Australian homes — provided the tiles are sound, the surface is flat, and you’ve thought through the height the new floor adds at doorways. It’s a common renovation shortcut because it skips the cost and mess of tile demolition, but it isn’t a free pass. This guide covers when laying over tiles is the right call, what to check first, and the steps a competent installer will work through.

Why people lay timber over tiles
Tile removal is dirty work. You’re looking at jackhammering, dust containment, skip-bin hire, and often patching of the slab underneath. On a typical Sydney renovation, ripping up tiles from a 30 m² living area can add days of labour and a meaningful chunk to the project budget. Laying engineered timber or hybrid directly over the tiles avoids all of that — the existing tiles become the subfloor.
The other reason is acoustic and thermal: a tile-plus-timber sandwich tends to feel warmer underfoot than tile alone, and the underlay between the two layers takes the edge off footfall noise.
What to check before you commit
Door and threshold heights
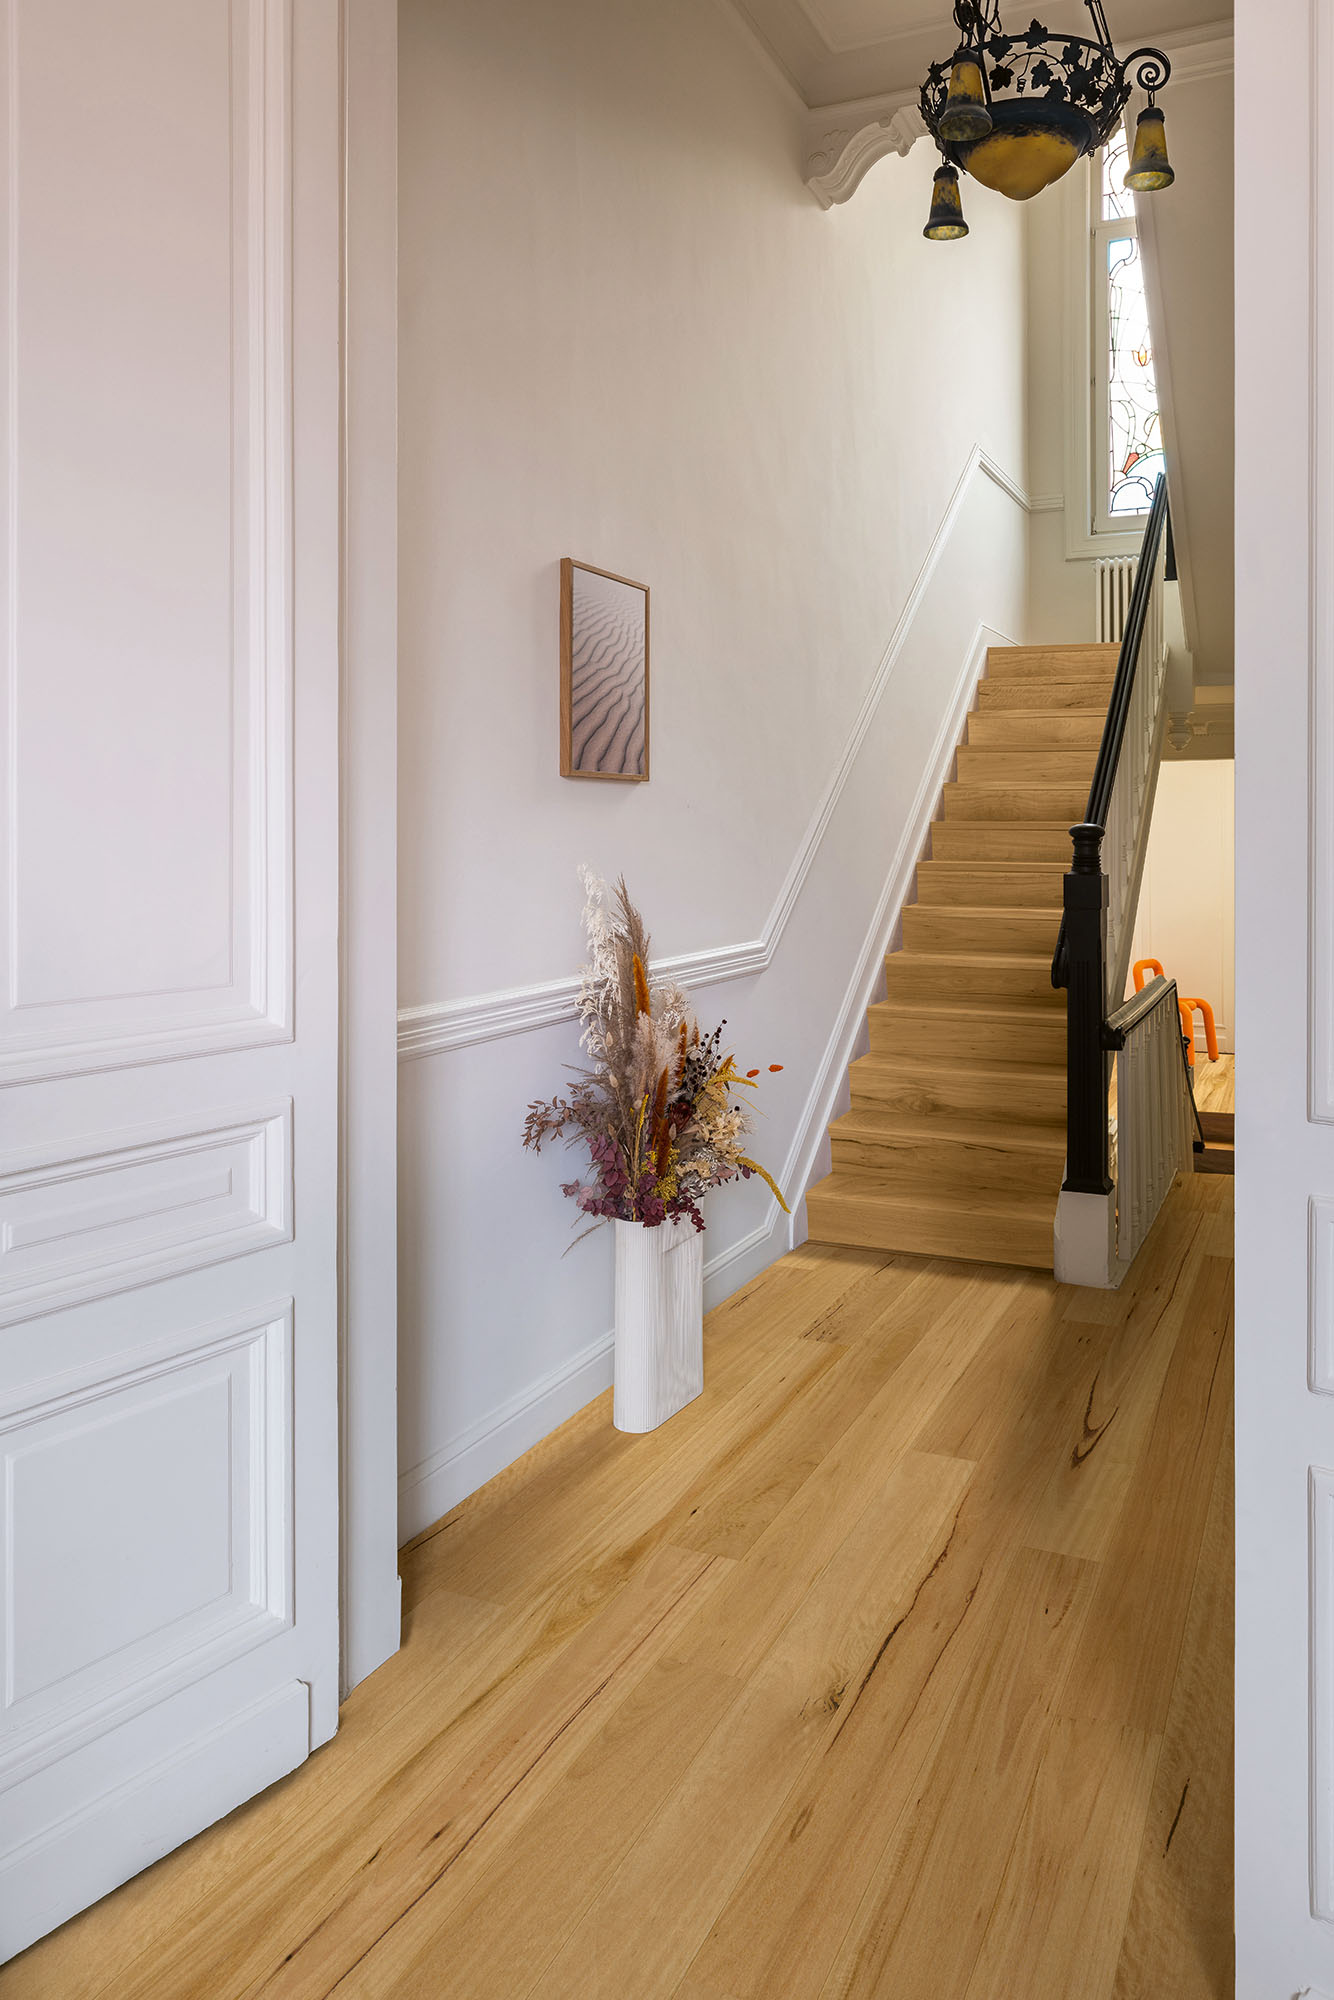
An engineered timber plank with underlay typically adds 14-20 mm of build-up. Hybrid is closer to 6-8 mm. Before you commit, measure the gap under every door that swings into the room, and check how the new height meets adjoining surfaces — carpet, the next room’s tile, the front entry threshold. If your interior doors only have 10 mm clearance, you’ll be paying a chippie to plane or rehang them. Wider front doors usually can’t be planed without losing the weather seal.
Tile condition and flatness
Walk the floor and listen. Tap each tile with a coin or a screwdriver handle — a hollow ring means the tile has lifted from the bedding compound and will eventually crack or rock under load. Drummy tiles need to be lifted and re-bedded before the timber goes down, otherwise the click joints in the new floor will work apart over time.
Flatness tolerance for a floating engineered or hybrid floor is typically 3 mm over a 2 m straightedge. Run a long level across the room. Anything outside that needs a self-levelling compound poured over the tiles before install. Grout lines deeper than 3 mm should be skim-filled at the same time so they don’t telegraph through.
Moisture, especially on a slab
If the tiles sit on a ground-floor concrete slab, moisture is the risk that catches people out. Tiles are largely vapour-impermeable, but the grout lines aren’t, and a slab without a working damp-proof membrane will push moisture up through the grout into the new timber. A moisture meter reading on the slab — or a calcium chloride test if you’re being thorough — tells you whether you need a poly moisture barrier under the underlay. Engineered timber doesn’t tolerate ongoing moisture well; if the slab reads high, hybrid is the safer pick.
The install steps in order
- Inspect and lift any drummy tiles. Re-bed and let the adhesive cure to spec before continuing.
- Clean. Vacuum, then mop. Any silicone, wax or polish on the tiles needs to come off so the underlay sits flat.
- Self-level if needed. Use a cement-based self-levelling compound rated for tile substrates. Pour to bring the room inside the 3 mm-over-2 m tolerance and to fill grout lines deeper than 3 mm.
- Lay the moisture barrier. A 200 micron polyethylene sheet, lapped and taped at joins, where slab moisture is a concern. Skip on first-floor and upper-storey installs.
- Roll out the underlay. Use the underlay specified by the flooring manufacturer — most engineered ranges call for 2-3 mm foam or rubber. Many hybrid planks come with pre-attached IXPE underlay, so you don’t lay separate underlay over them.
- Set out and lay the planks. Square the room first using the 3-4-5 rule for squaring a room, run the planks parallel to the longest wall or the main light source, and leave a 10-12 mm expansion gap at every wall and fixed object.
- Trim and finish. Refit skirtings or run a quad bead, fit transition strips at doorways to manage the height change, and rehang any planed doors.
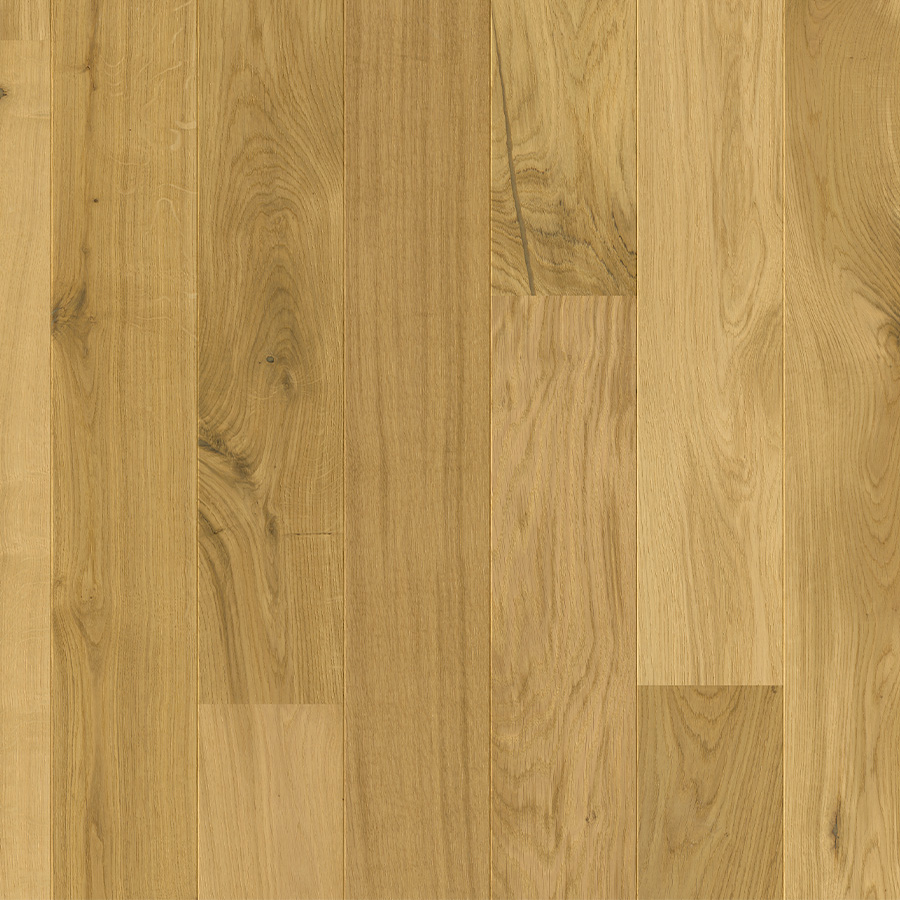
Engineered timber or hybrid over tiles?
For dry living areas, hallways and bedrooms, a 14-15 mm engineered timber plank with a 3 mm wear layer gives you a real timber surface that can be sanded and refinished down the track. Pricing on those ranges is covered in the engineered timber flooring prices guide. For wet zones, ground-floor slabs with moisture risk, or households with kids and pets, hybrid is the more practical pick — fully waterproof core, thinner build-up at thresholds, and a harder wear layer. The best hybrid flooring brands in Australia roundup lists the ranges we’d back. If you’re laying over tiles in a basement or garage conversion on slab, the same principles apply as a direct slab install — see how to lay vinyl on a concrete floor for the moisture and prep detail.
When tile removal is still the right call
Lay over tiles when the tiles are sound, flat, and the height build-up works at your doors. Pull the tiles up if you’ve got widespread drummy tiles, a noticeable slope across the room, a slab moisture problem, or a renovation that’s already gutting the kitchen and bathrooms anyway. The cost of tile removal looks worse on paper than it tends to look against the lifetime of a properly installed floor.
If you’re not sure which path suits your home, bring a few photos and the room dimensions into one of our showrooms in Sydney or Brisbane and we’ll talk through it.