Yes, in most cases you can lay vinyl flooring over tile — provided the tile is well bonded, level, dry, and the height build-up doesn’t break your door clearances or transitions. Vinyl plank is one of the few floors thin and forgiving enough to go directly over an existing tile floor without lifting it. The catch is that vinyl mirrors what’s underneath: a cracked or hollow tile, a deep grout line, or a damp slab will all telegraph through. This guide walks through how to check whether your tile is a good candidate and how to prep it properly.

Check the tile first
Walk the room and tap every tile with the handle of a screwdriver. A solid, dull thud means the tile is bonded to the slab. A hollow ring means the adhesive has let go underneath, and that tile will eventually crack or rock under foot traffic — and any vinyl above it will rock with it. Lift and re-bed any drummy tiles, replace the cracked ones, and re-grout any failed joints before you go any further.
Then check for level. A long straight edge or a 2 m spirit level laid across the floor will tell you whether the tile bed is flat enough. Anything more than about 3 mm of dip or hump over a 2 m span needs to be evened out, otherwise the click joints in the new vinyl will flex and eventually fail.
Deal with the grout lines
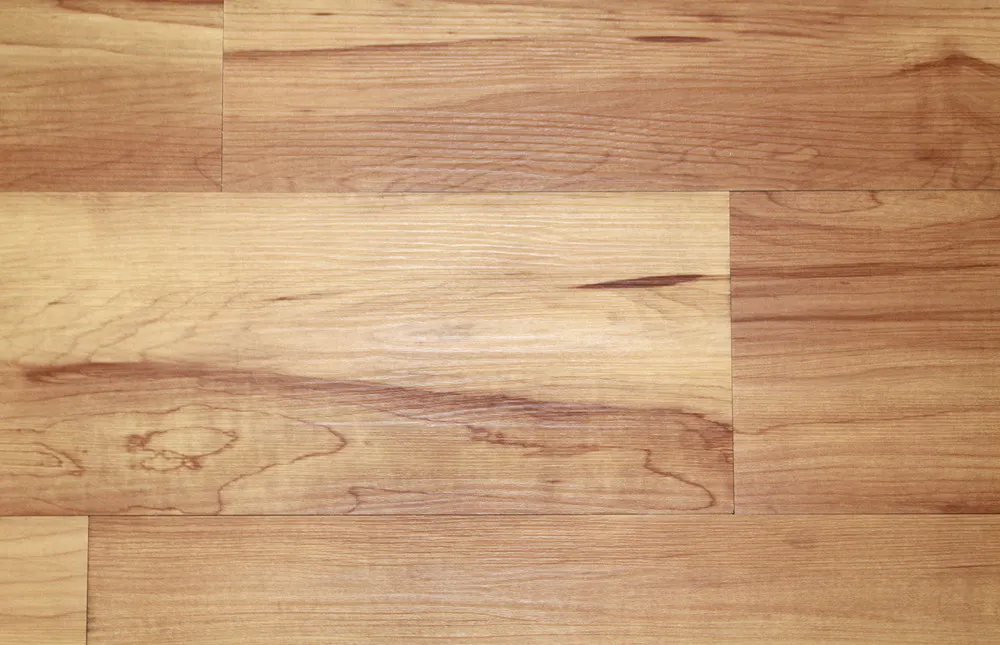
Grout lines are the single biggest reason a vinyl-over-tile install looks rough a year later. Vinyl planks are flexible enough to follow the grout valleys, and once they do, you’ll see a faint grid pattern through the surface — particularly under raking morning or evening light. Two ways to handle it:
- For shallow grout lines (under about 3 mm deep), a feathered skim coat with a flexible patching compound across the joints is enough.
- For deeper grout lines, especially on older terracotta or large-format tiles, a self-levelling compound poured across the whole floor is the cleaner answer. It costs more in product and labour but it gives the vinyl a flat, uniform substrate.
Either way, let the patching or levelling compound cure fully — usually 24-48 hours — before the vinyl goes down. Same principles apply if you’re laying over a slab instead of tile; we’ve covered that scenario in detail in our guide on how to lay vinyl on a concrete floor.
Watch the height transitions
Most luxury vinyl planks are 4 mm to 7 mm thick. Add that on top of an existing 8-10 mm tile bed and you’re suddenly 12-17 mm higher than you were. That matters at three places: door clearances (you may need to plane the bottom of internal doors), the run-out at the top of staircases, and any transition into a carpeted or timber-floored room next door. Walk every doorway before you commit. If a fridge, dishwasher or laundry appliance has to slide back into a cavity, factor in the new floor height there too.
You’ll also need to leave the manufacturer’s specified perimeter gap around the room. The plank has to be free to move slightly with seasonal temperature swings; if you trap it tight against the wall, the joints can peak. Our note on expansion gap requirements has the specifics.
Check moisture before you start
Tile is waterproof, but the slab underneath might not be dry. If the tile is laid over a ground-floor slab without a damp-proof membrane, moisture can wick up around the perimeter and through cracked grout. A simple plastic-sheet moisture test — tape down a square of plastic for 24 hours and check for condensation under it — will flag the problem before you spend money on planks. If moisture is showing, sort the source first; vinyl planks are waterproof on the surface but the click joints aren’t sealed, and trapped moisture under the floor will eventually cause a smell or a mould issue.
Pick the right plank

For a tile-over install, we’d recommend a rigid-core plank (SPC or hybrid) rather than a thin glue-down LVT. The rigid core spans grout lines better and is more forgiving of small surface imperfections. Most rigid planks come with a pre-attached IXPE or EVA underlay, which means you don’t need a separate foam layer — and you shouldn’t add one, because doubling up the underlay makes the click joint flex and fail. If you’re working from a thin glue-down LVT spec, you’ll need to fully fill and skim the grout lines first. Our underlay for vinyl flooring guide spells out which products need underlay and which don’t.
When to lift the tile instead
Sometimes the cheap-and-easy option isn’t the right one. Lift the tile if any of the following apply: the tile bed has multiple drummy or cracked tiles, the floor is significantly out of level, the height build-up will block doors or appliances, or the slab below is showing moisture. In those cases the cost of patching, levelling, planing doors and rebuilding transitions catches up to the cost of a proper tile lift very quickly.
For wet zones in particular — bathrooms, laundries, downstairs powder rooms — it’s worth pausing to confirm vinyl is the right pick at all. Our guide to waterproof flooring options walks through where vinyl shines and where another product makes more sense.
The short version
Vinyl over tile works when the tile is bonded, level, dry, and your doorways can absorb the extra height. Skim or self-level the grout lines, leave the perimeter gap, and pick a rigid-core plank with pre-attached underlay. If you’d like a hand checking whether your existing tile is a good candidate, bring a few photos and a level reading into our Sydney or Brisbane showrooms — happy to walk through it with you.