
Almost every flooring failure we are called to inspect goes back to preparation rather than the product. A floor that bounces, gaps, cups or lifts at the joins is usually sitting on a subfloor that was not flat enough, not dry enough or not clean enough when the boards went down. Here is the sequence a professional follows, and what each step is actually protecting against.
1. Remove the old floor
Carpet and underlay come up with a knife and a pry bar for the tack strips. Glued vinyl and vinyl tiles need scraping, and old sheet vinyl may hide an adhesive that has to be removed rather than covered. Tiles are lifted with a chipping hammer, which leaves ridges of adhesive that must be ground off. Older floors can contain asbestos in the sheet vinyl or its backing; if the house is pre-1990 and you are not sure, have it tested before you disturb it.
2. Inspect the subfloor
Look for movement, damage and damp. On a timber subfloor, walk every square metre and mark boards that flex or squeak, then screw them down. Check for rot near wet areas and for borer damage. On a slab, look for cracks wider than a hairline, crumbling patches and any dark staining that suggests rising damp.
3. Test for moisture
This is the step homeowners skip and installers never do. A concrete slab must be dry before anything is laid over it: new slabs need roughly 28 days of curing per 25mm of thickness, and the moisture should test below the manufacturer’s limit, commonly 75 per cent relative humidity by in-slab probe. Timber subfloors are checked with a pin meter and should read within 2 to 3 per cent of the new boards. Laying over a wet slab is what causes cupped timber and lifted vinyl six months later.
4. Level and flatten
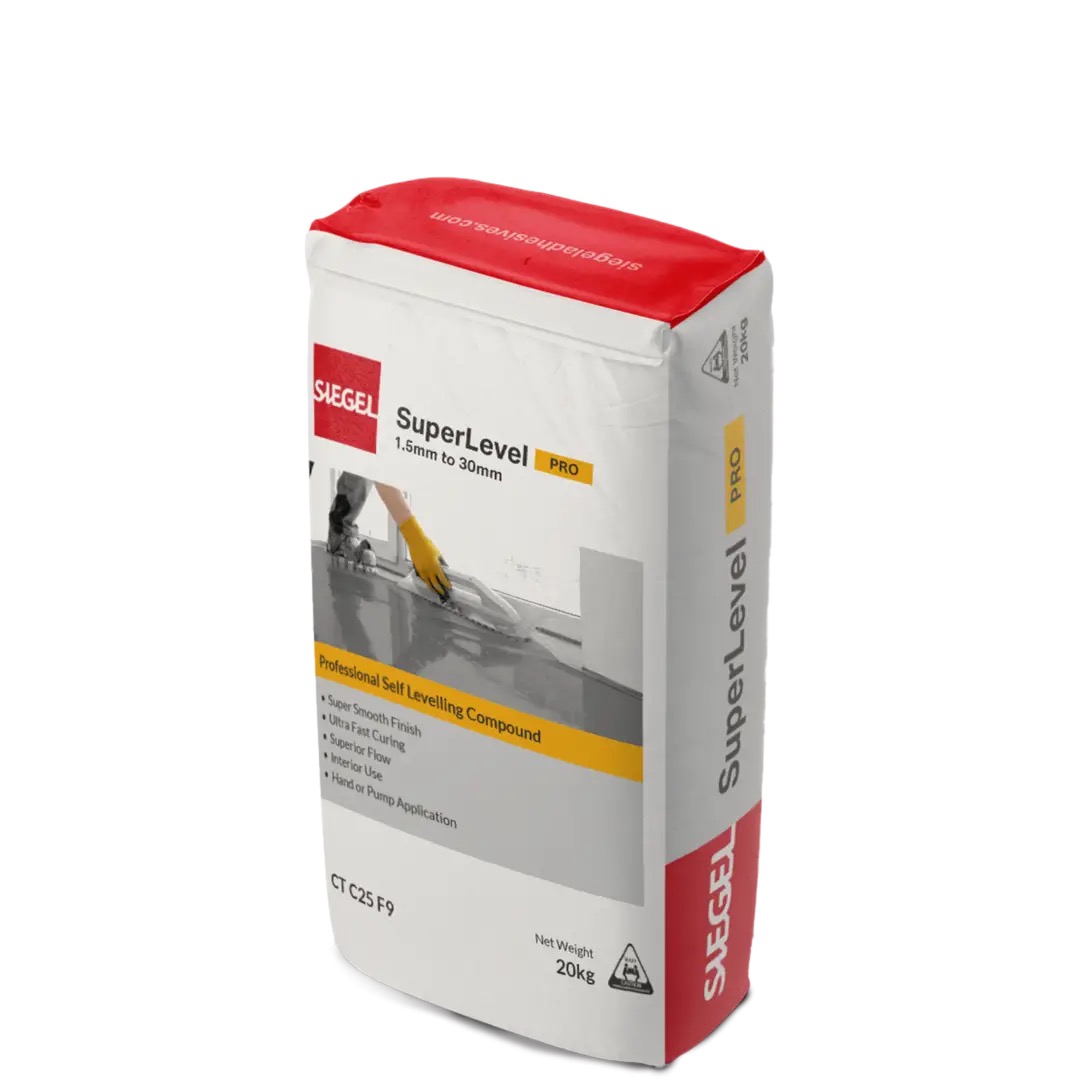
The tolerance is 3mm over any 2 metre span for floating floors and glue-down vinyl. Check with a 2 metre straight edge in a grid pattern and mark the high and low spots. Grind the humps, fill the dips with a self-levelling compound, and feather the edges. Glue-down vinyl also needs the surface to be smooth, not just flat, because a thin plank telegraphs grit and trowel ridges. Prices and methods are in our floor levelling cost guide, and compounds are on our floor levellers page.
5. Prime and seal
Levelling compounds need a primer matched to the substrate; porous concrete often takes two coats and non-porous surfaces need a grip primer. Where slab moisture is borderline, a moisture-barrier primer or a two-part epoxy membrane is used instead of hoping for the best.
6. Clean
Vacuum, do not sweep. Dust left on a slab stops adhesive bonding and sits under underlay as lumps. Any paint, plaster splatter or drywall compound has to be scraped off.
7. Acclimatise
Bring the boxes into the room they will be laid in, not the garage, and leave them flat for at least 48 hours (72 in humid Queensland) at normal living temperature. This applies to hybrid, laminate and timber alike.
What good prep costs
On a typical renovation, removal runs $10 to $20 per square metre for carpet and $30 to $60 for tiles, and levelling $20 to $80 depending on depth. It is usually 15 to 25 per cent of the job. Ask for it as a separate line on the quote rather than “prep as required”, and see our flooring installation cost guide for the full breakdown.
Frequently asked questions
For a standard 60 square metre home, removal is half a day, levelling a day including cure time, and acclimatisation 48 hours. Allow three to four days before laying starts.
Often yes, if the old floor is sound, flat, dry and well bonded. Hybrid and laminate float over tiles and sheet vinyl happily. Carpet always comes up.
Yes, and most manufacturers require a documented test for the warranty to apply. It is the single most expensive mistake to get wrong.